Fixing Solder Bridges and Cold Joints in SMT
Solder bridges and cold joints are common SMT assembly defects caused by poor reflow, component placement, or paste viscosity. Correct them by removing excess solder with a braid or reflowing cold joints with a hot air gun. Prevent issues by optimizing paste viscosity, component placement, and reflow profiles.
- Solder bridges occur when molten solder flows between adjacent pins or pads, causing shorts and open circuits.
- Cold joints appear as dull, grainy solder with poor wetting, indicating incomplete melting during reflow.
- Remove bridges with a solder wick and reflow cold joints with a hot air gun to restore reliable connections.
- Prevent defects by controlling paste viscosity, ensuring component placement accuracy, and validating reflow profiles.
- Inspect boards with magnification and automated optical inspection to catch defects before final testing.
Why Solder Bridges and Cold Joints Matter
Solder bridges and cold joints are among the most common assembly defects in SMT production. They reduce reliability, create intermittent failures, and increase rework costs. A bridge between two adjacent pins can short a signal to ground, while a cold joint on a power pin can overheat under load.
These defects often appear after reflow but can be traced back to paste application, component placement, or process parameters. Identifying the root cause is the first step to fixing them.
How to Identify Solder Bridges
A solder bridge is a continuous path of molten or solidified solder connecting two adjacent conductors. It may look like a smooth, shiny dome between pins or a thin web across a narrow pitch.
Inspect the board under magnification. A bridge may be visible from the top side, but some only show on the bottom. Use a low-power probe or multimeter to check continuity. If you see a shiny, raised solder mass between pins, it is a bridge.
Bridges are more common on fine-pitch components like QFNs, BGA, and narrow SMD resistors. They also appear when paste volume is too high or when the reflow profile has a long dwell time at peak temperature.
How to Identify Cold Joints
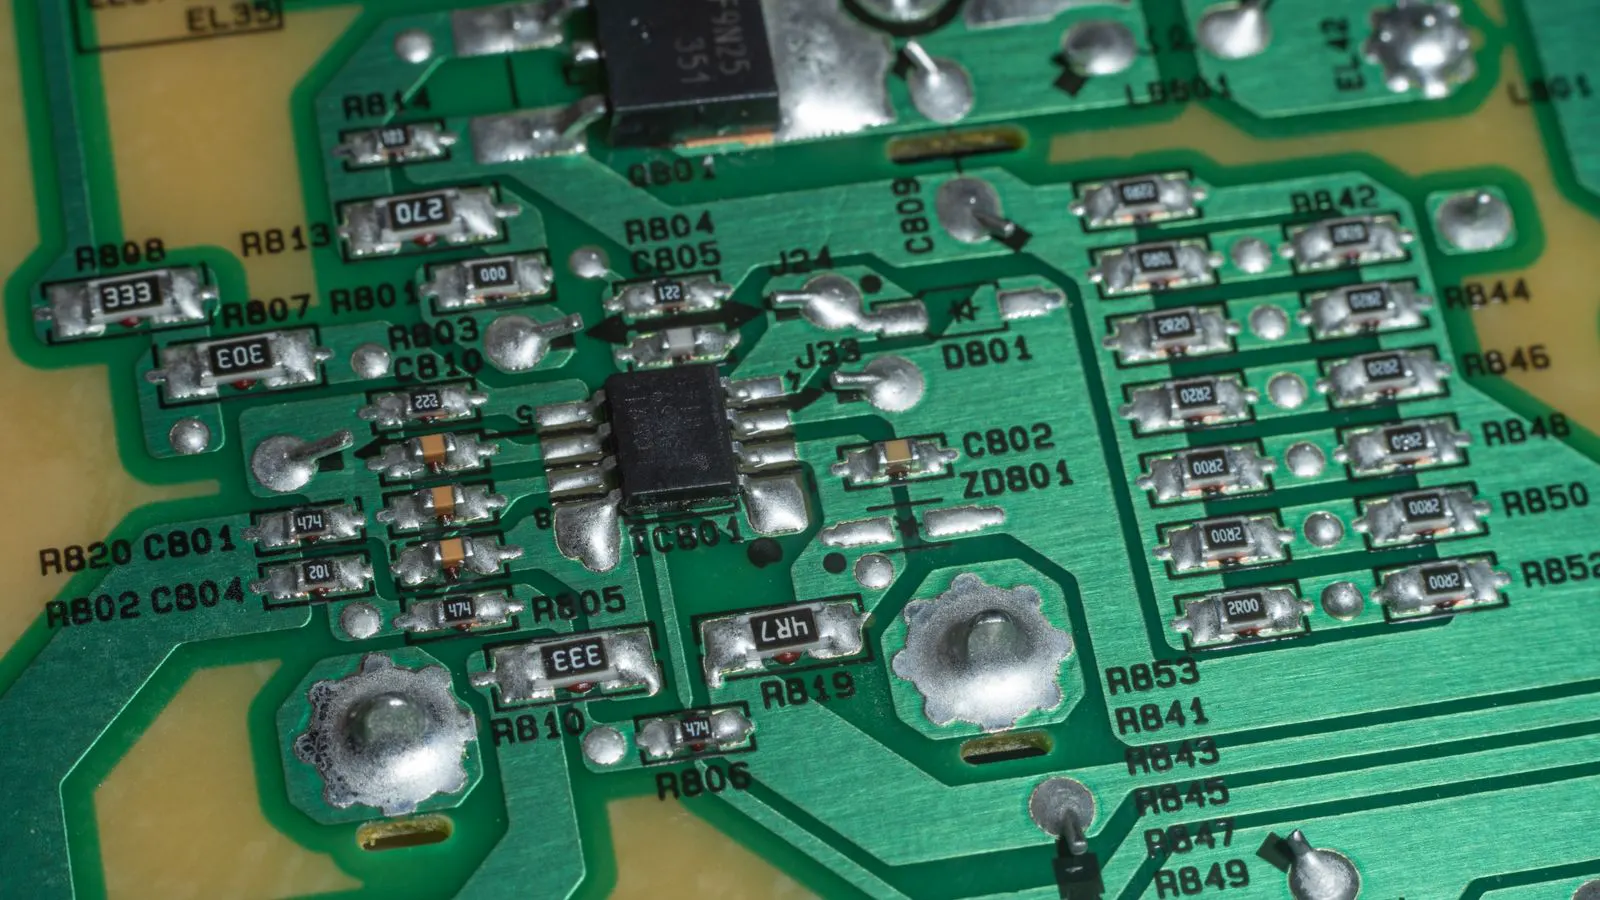
A cold joint is a solder connection that did not fully melt and flow during reflow. It appears dull, grainy, or rough, with a crater or void in the center. The solder may not wet the pad or component lead properly.
Check the joint under magnification. A good joint is shiny, smooth, and concave. A cold joint is matte and irregular. It may also show a gap between the solder and the pad.
Cold joints are often caused by insufficient heat, a low peak temperature, or a reflow profile that does not reach the liquidus temperature long enough. They can also result from poor pad wetting due to oxidation or flux residue.
Common Solder Defects, Causes, and Fixes
Use the table below to match symptoms to likely causes and apply the correct fix.
| Symptom | Likely cause | What to do |
|---|---|---|
| Shiny dome between adjacent pins | Excess paste, long peak dwell, or slow reflow ramp | Remove bridge with a solder wick and a soldering iron; reduce paste volume or adjust reflow profile |
| Thin web across narrow pitch | Component misalignment or high paste viscosity | Realign component if possible; use a fine-tip iron to remove excess solder; adjust paste screen mesh |
| Dull, grainy joint with a crater | Insufficient reflow heat, low peak temperature, or oxidation | Reflow the joint with a hot air gun; clean the pad with flux; validate the reflow profile |
| Solder pulled away from the pad | Poor pad wetting, insufficient paste, or long time to liquidus | Clean the pad, reapply a small amount of solder, and reflow; check paste expiration and storage |
| Bridge on BGA or QFN pins | High paste volume, insufficient capillary action, or slow ramp | Use a wick or fine-tip iron to remove excess; reduce paste thickness; shorten the reflow profile |
| Cold joint after rework | Insufficient heat, incorrect iron temperature, or poor flux | Reflow with a hot air gun set to the correct temperature; clean the joint; verify the iron tip is clean |
How to Fix Solder Bridges
Removing a solder bridge requires careful heat control to avoid damaging adjacent pads or components.
- Prepare the work area. Use a heat-resistant mat and keep the soldering iron at the correct temperature for the solder alloy.
- Apply a small amount of flux to the bridge to improve wetting and reduce oxidation.
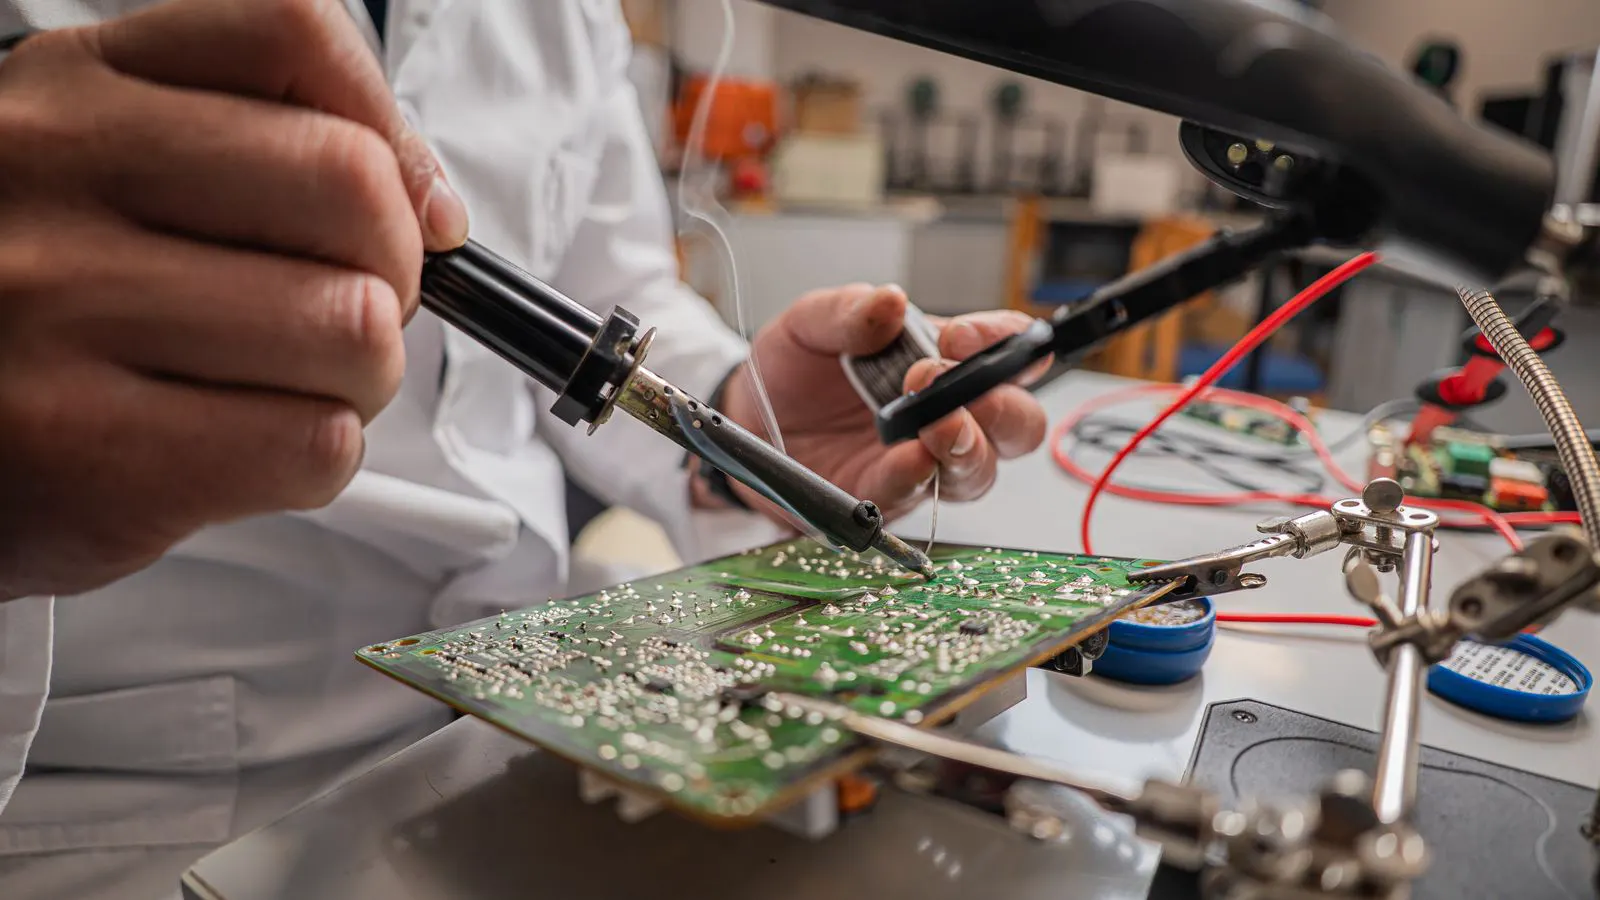
- Use a solder wick. Place the wick under the bridge and touch the iron to the bridge for a short period. The molten solder will wick away from the joint.
- If the bridge is thin, use a fine-tip iron to lift the excess solder without disturbing the pads.
- Inspect the joint under magnification. Ensure the bridge is completely removed and the pads are clean.
- If the bridge is on a fine-pitch component, consider using a hot air gun to reflow the entire component and then remove excess solder with a wick.
Avoid using too much heat. Overheating can lift pads or damage components. Work quickly and keep the iron tip clean.
How to Fix Cold Joints
A cold joint can often be fixed by reflowing the connection to a proper temperature.
- Inspect the joint. If it is dull or grainy, it needs reflow.
- Clean the joint with a small amount of flux. Remove any oxidation or residue.
- Use a hot air gun or a soldering iron. For a single pin, a fine-tip iron may work. For multiple pins or a BGA, use a hot air gun.
- Heat the joint to the reflow temperature for the solder alloy. Keep the heat steady and move the air stream or iron tip to avoid hot spots.
- Watch the solder. It should melt, flow, and wet the pad and lead. The joint should become shiny and smooth.
- Allow the joint to cool naturally. Do not disturb it while it solidifies.
If the cold joint persists, check the reflow profile. The peak temperature may be too low, or the time at peak may be too short. Adjust the profile and reflow the board.
Prevention Tips for SMT Assembly
Prevention is more effective and cheaper than rework. Address the root causes of solder bridges and cold joints before they appear.
- Control paste viscosity. High viscosity can cause poor wetting and cold joints. Low viscosity can cause bridges. Adjust the paste to the manufacturer’s specification.
- Use the correct screen mesh. A finer mesh reduces paste volume and lowers the risk of bridges.
- Inspect paste application. Check paste volume and coverage with an automated optical inspection tool or a magnifier.
- Verify component placement. Misaligned components can cause bridges or cold joints. Use a placement inspection system to catch errors.
- Validate the reflow profile. Run a thermal profile test on a representative board. Ensure the peak temperature and time at peak are within the solder alloy’s range.
- Keep the board and pads clean. Oxidation and flux residue can prevent proper wetting. Clean pads before assembly.
- Use a reliable reflow oven. Ensure the oven is calibrated and the conveyor speed is correct.
Preventive checks save time and reduce defects. They also improve yield and reliability.
When to Escalate
Some defects are not worth reworking on the bench. If a bridge is on a fine-pick component like a BGA or QFN, and the board is in production, escalate to the assembly engineer. They may need to reflow the entire board or replace the component.
If cold joints appear after rework, check the reflow profile. If the profile is correct and the joint still fails, inspect the pad for damage. A lifted pad is a permanent defect and requires repair or replacement.
Escalation ensures the root cause is addressed and prevents repeat defects.
Final Checks Before Shipping
Before shipping a repaired or reworked board, perform a final inspection. Check all repaired joints under magnification. Use a multimeter to verify continuity and isolation.
If the board is for a customer, document the repair. Note the defect, the fix, and the inspection result. This helps trace the issue and prevents recurrence.
A clean, shiny joint and a verified reflow profile are the best indicators of a reliable SMT assembly.
Frequently asked questions
Can I fix a solder bridge with a soldering iron alone?
Yes, for a simple bridge, a fine-tip iron and solder wick can remove the excess. For fine-pick components, a hot air gun may be needed to reflow the entire component.
What causes cold joints on SMT boards?
Cold joints are usually caused by insufficient heat, a low peak temperature, or poor pad wetting. Oxidation and flux residue can also prevent proper wetting.
How do I prevent solder bridges on fine-pitch components?
Reduce paste volume, use a finer screen mesh, and ensure accurate component placement. A well-validated reflow profile also helps prevent bridges.
What is the difference between a cold joint and a bridged joint?
A cold joint is a dull, grainy connection that did not fully melt. A bridge is a continuous path of solder connecting two adjacent conductors.
Do I need to reflow the entire board after fixing one cold joint?
Usually, you can reflow just the affected joint with a hot air gun. If multiple joints are cold, reflow the entire board to ensure a consistent process.